Bio-Plastic Experiment
Objective
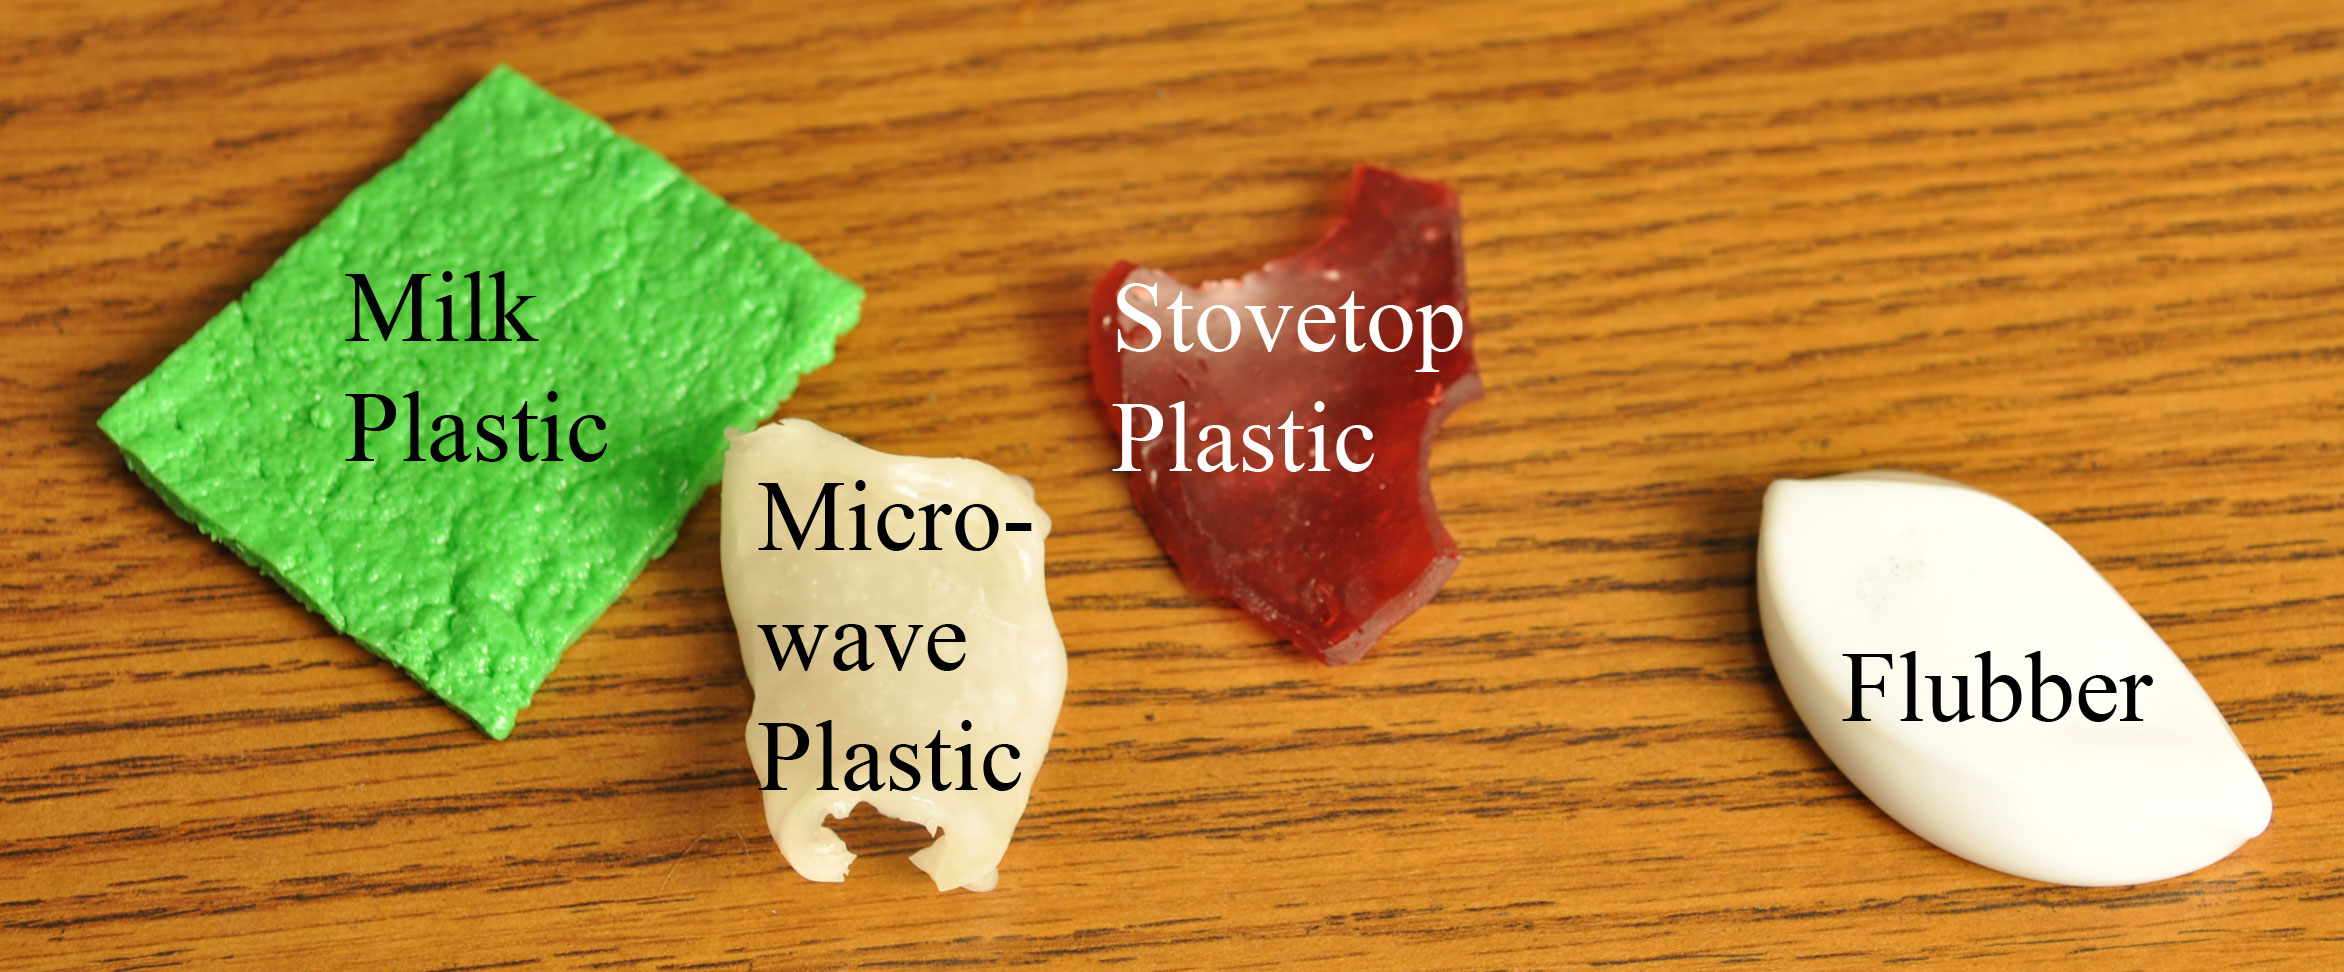
The objective of the “Bioplastics Experiment” is to show the students the advantages and disadvantages of running a fractional factorial. The students run a 2^k-1 fractional factorial to determine which levels of bioplastic ingredients / cooking method produce the best quality bioplastic. The students break up into four groups. Each group selects a different bioplastic; Milk plastic, Stovetop corn plastic, Microwave corn plastic and Flubber. Each recipe has four factors that can be tested at two different levels. The factors can either be ingredient amounts, cooking times or cooking temperatures. As the students quickly learn while running the experiment, each run takes a significant amount of time. Therefore, the advantage of running only 8 runs as opposed to 16 runs of the full factorial is significant. They also learn while running the analysis the disadvantage, in the form of aliasing, of running a fractional factorial.
Equipment - per group
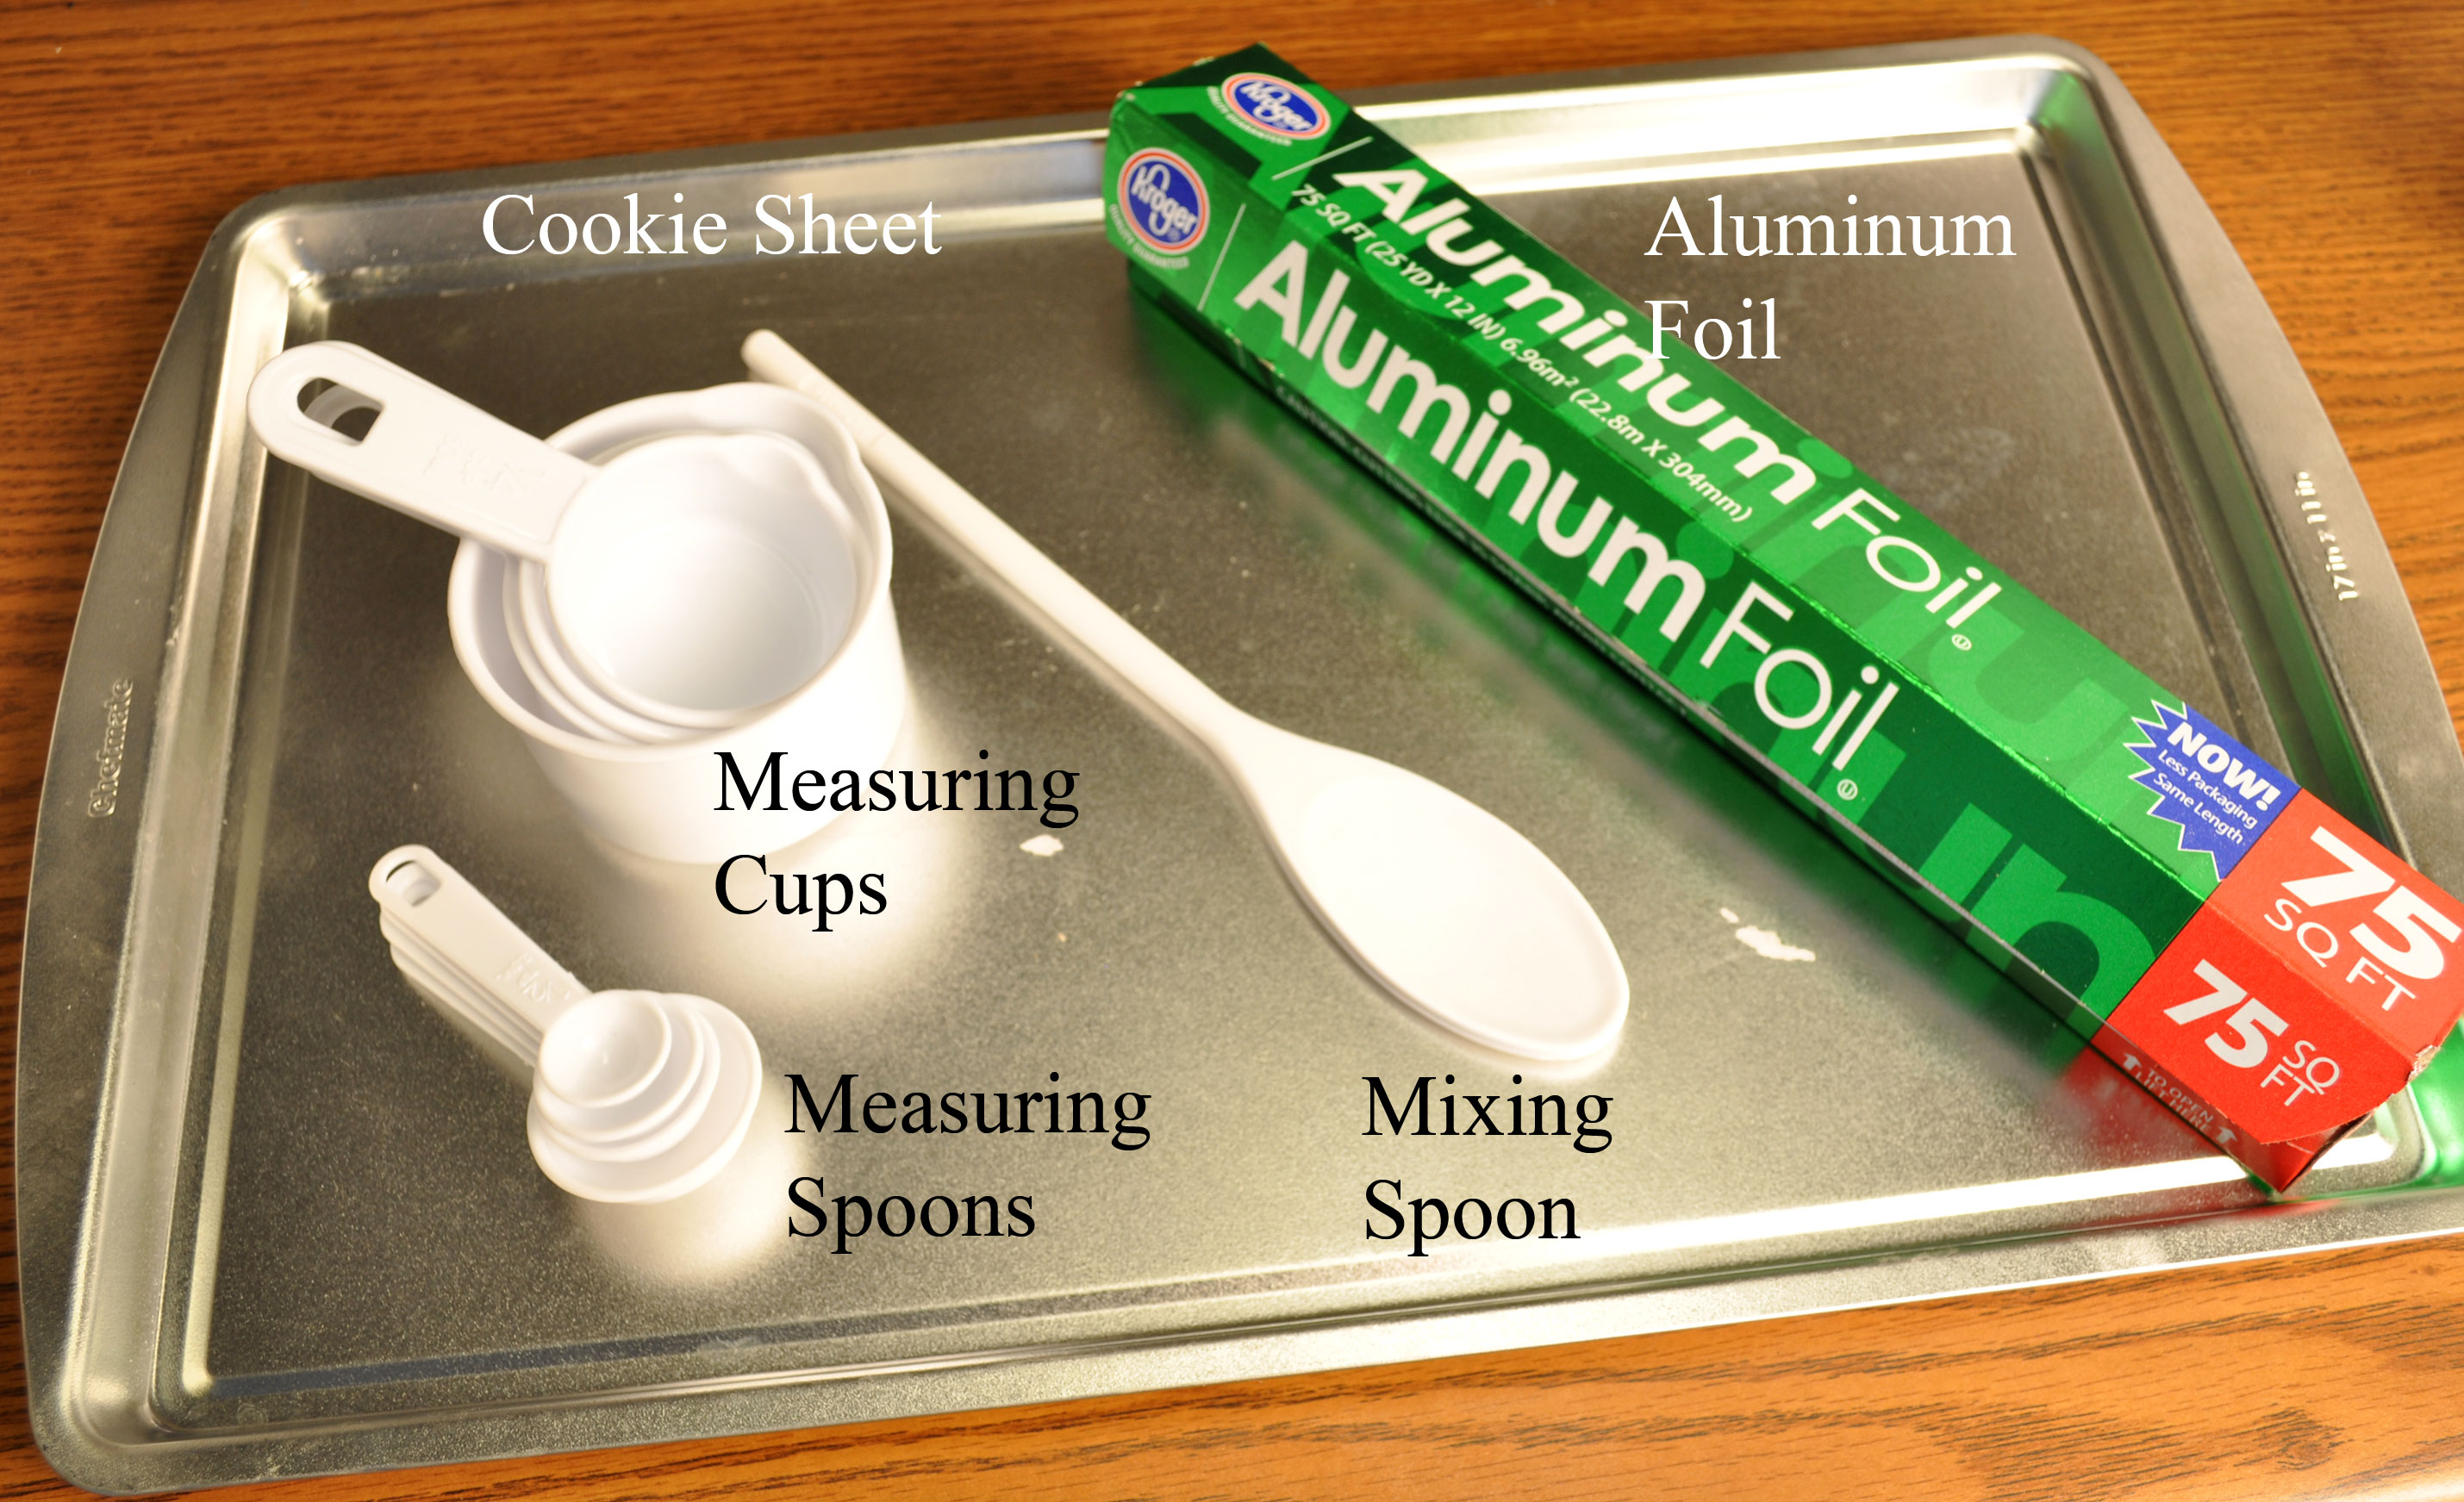
Making bioplastics requires various kitchen supplies and some perishable items. The students are required to purchase and bring to class the perishable items each of which are easily obtained from a local supermarket. Each group is supplied with a common set of supplies in addition to a set of supplies that are specific to their type of bioplastic.
- 1 cookie sheet (set of 3 for $16.99 , Target)
- 1 mixing spoon ($1.99, Target)
- 1 set of measuring cups (set of measuring cups and spoons $9.99, Target)
- 1 set of measuring spoons (see above)
- 1 roll of aluminum foil ($3.59, Kroger)
Procedure
Assign the following tasks to different team members within your team; 1) Measurer (Measures out the ingredients and pours them in the containers.), 2) Mixer/cooker (Mixes the ingredients. Heats and/or cooks the ingredients.), 3) Observer (Observes the experiments and takes notes.), 4) Squeezer/Spreader (Squeezes (if required) and spreads the plastic. This person also measures the spread of the Flubber.), 5) Labeler (Labels the different plastic samples.), and 6) Plastic keeper (Keeps the plastics and brings it back to the group after the required 48 hour waiting period.). Make the standard recipe plastic until you are comfortable that you have made a successful plastic. Make the first recipe combination as stated on the data sheet. The observer should take down any notes that he or she feels is relevant (e.g. the plastic was hard to work, the plastic fell apart, etc…). Make sure that you reference these notes back to the level combination that is being tested. Label your plastic after it is placed on the aluminum foil. As a group, come to a consensus on your response value and enter it on your data sheet. The response should be a relative number with the standard recipe being the reference. Make the next recipe combination.
Analysis and Discussion
Give a brief summary of the analysis procedures. Include P-values, main effects and interaction plots. Which factors and interactions are significant? Don’t forget to mention the alias structure and any assumptions that you are making. If none of your factors/interactions are significant, justify this and discuss why? If some or all of your factors/interaction are significant, optimize your factors settings to produce what you think is the best plastic. Use any plot/equations you feel are required to do this. Include in the discussion section, what affect each of the active components in the recipe has on the plastics properties. Back this up with referenced information. Plot and comment on your residuals.
Flubber
Equipment
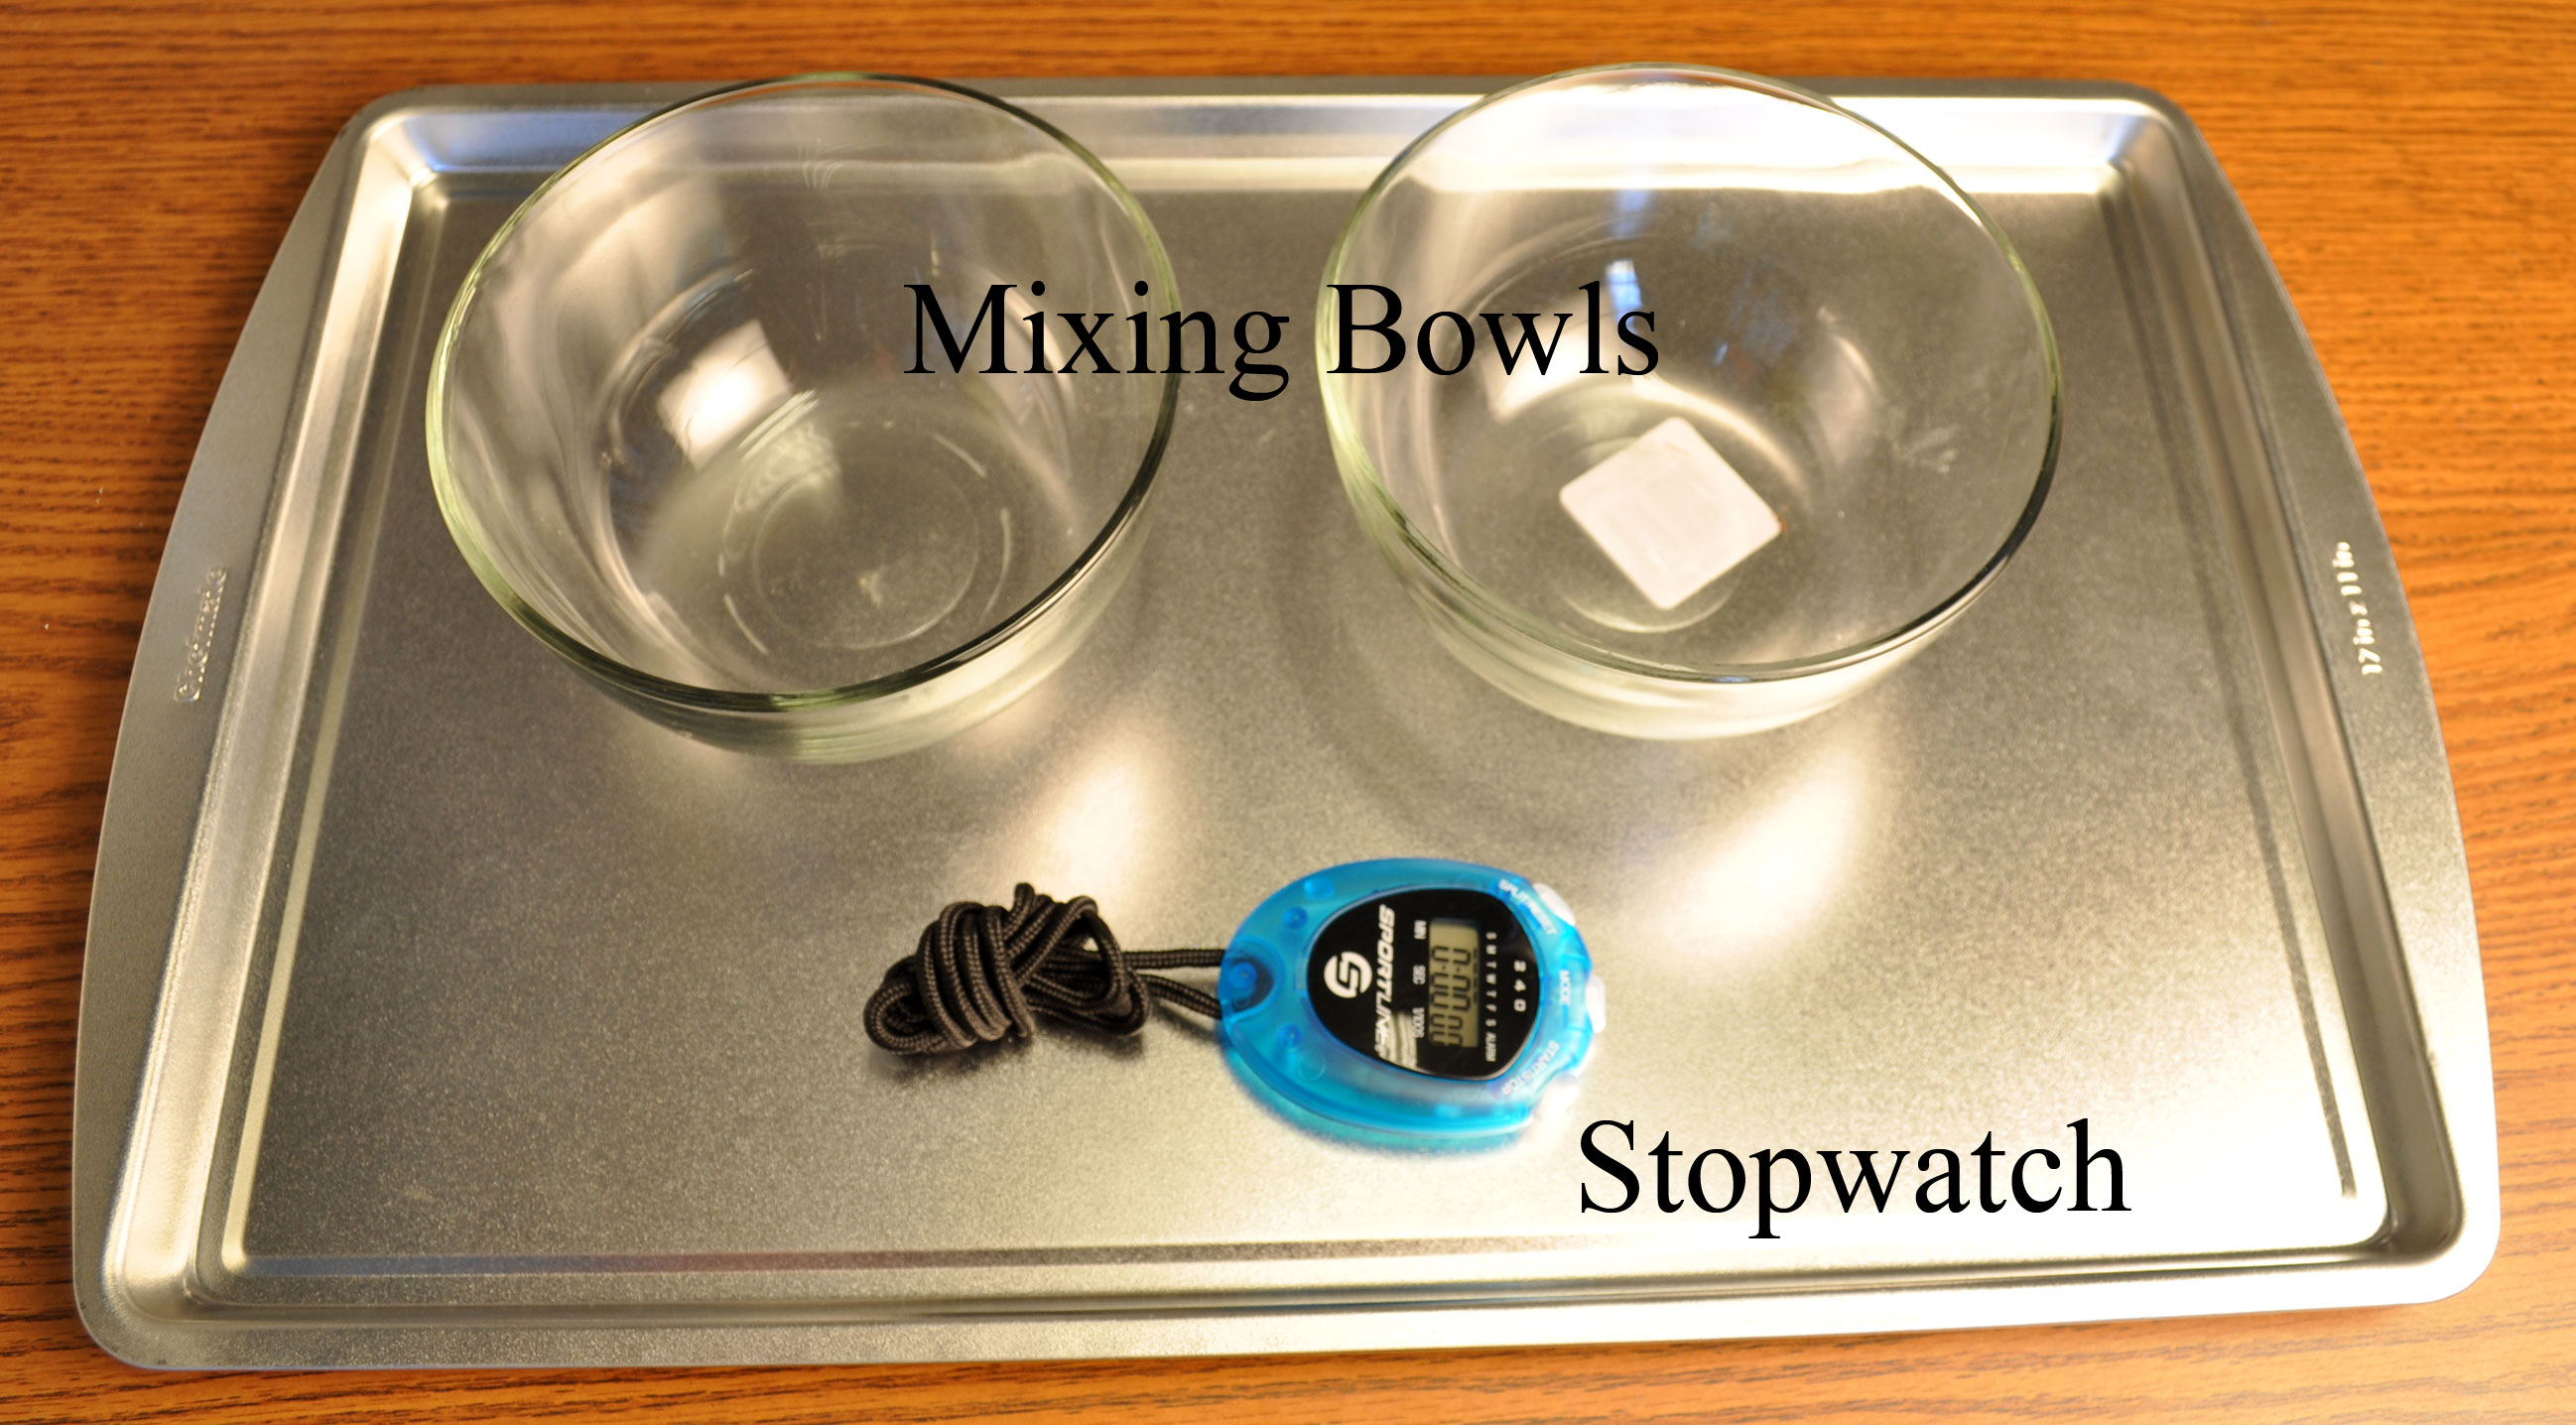
- 2 bowls (6” bowl $1.57 each, Target)
- 1 stopwatch ($9.99, Target)
- 1 microwave ($64.99, Target) – Used jointly with the “Microwave plastic” group.
Student supply list
The students purchase the following items and bring them to class on the day of the experiment; Elmer’s school glue (enough for 4 cps), 20 Mule Team borax (enough for 8 tsp), water (enough for 8 cps), and food coloring (optional).
Standard Recipie
The standard Flubber recipe is; 1/3 cp Elmer’s glue, 1/2 cp warm water, 1/2 tsp 20 Mule Team borax, and 1/4 cp warm water.
Ingredient Levels
The ingredient levels for Flubber are; Bowl#1 - Elmer’s glue (Low = 1/3, High = 1/2 cp), 1/2 cp water (Low = cold, High = warm (1 min in the microwave)), Bowl #2 - 20 Mule Team borax (Low = 1/2 tsp, High = 1 tsp.), and 1/4 cp water (Low = cold, High = warm (1/2 min. in the microwave)). Note that the microwave cooking times are microwave dependent. The microwave used in this experiment was very low wattage.
Procedure
In Bowl #1 add the desired amount of water and heat if necessary. Add the desired amount of glue. Mix until uniform. Add food coloring. In Bowl #2 add the desired amount of water and heat if necessary. Add the desired amount of Borax. Mix until uniform. Add the Borax mixture to the Glue mixture and stir until it becomes a uniform glob. Place the flubber on the aluminum foil, measure its diameter and note this on the data sheet. Wait one minute, measure the diameter again and note this on the data sheet. The ratio of these two diameters will be defined as the Spread. Characterize the Flubberness of your sample and note this on the data sheet. Place the samples aside for 48 hours. Measure the Spread and Flubberness of each sample.
Milk Plastic
Equipment
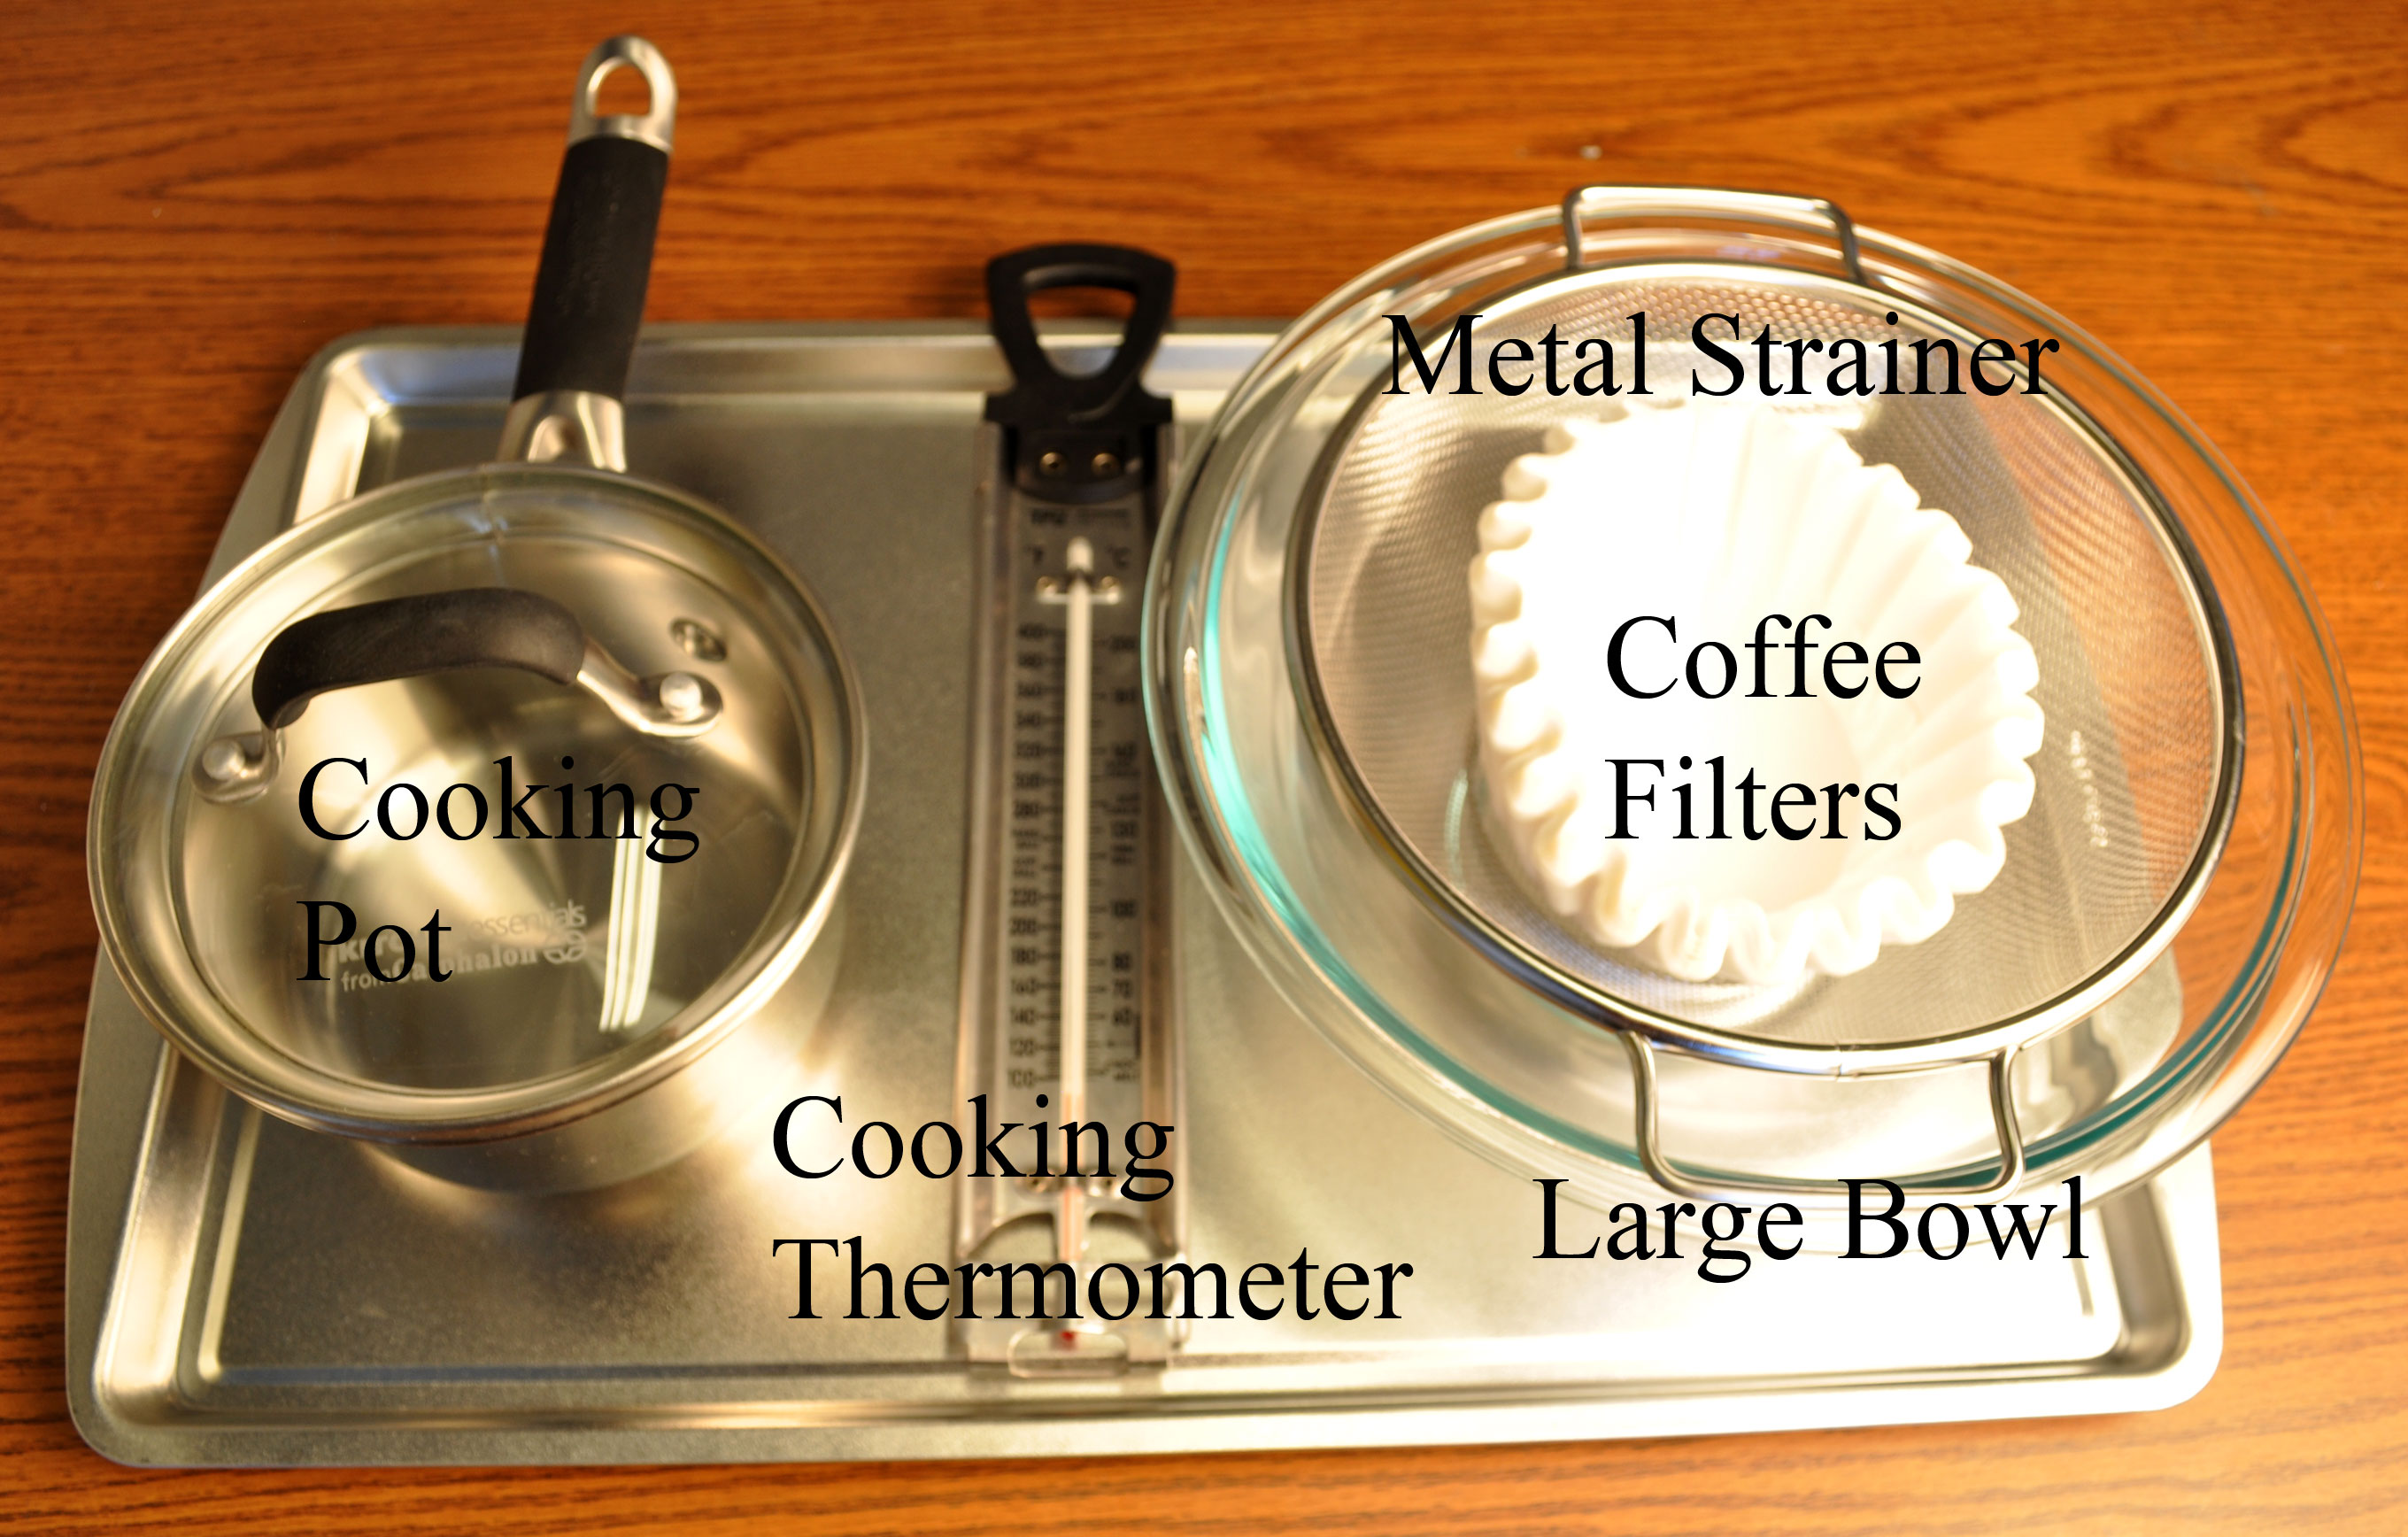
- 1 large bowl (1” bowl $8.39, Target)
- 1 metal strainer ($17.99, Target)
- coffee filters (100 for $2.49, Kroger)
- 1 cooking pot ($29.99, Target)
- 1 cooking thermometer ($6.49, Target)
- 1 2-burner hot plate ($34.99, Target) – Used jointly with the “Stovetop Plastic” group.
Student supply list
The students purchase the following items and bring them to class on the day of the experiment; whole milk (enough for 3 liters), skim milk (enough for 3 liters), vinegar (enough for 6 cps), and food coloring (optional).
Standard Recipie
The standard recipe for Milk plastic is; 1/2 liter of skim milk heated to 160OF and 2 Tbs vinegar.
Ingredient Levels
The ingredient levels for Milk plastic are; milk type (whole, skim), milk amount (1/2 liter, 3/4 liter), milk temperature (160OF, 180OF), and vinegar (2 Tbs, 3 Tbs).
Procedure
Heat the desired amount of milk to the desired temperature and remove the thermometer. Turn off the stovetop and add the desired amount of vinegar. Stir the mixture until the milk separates. Strain the mixture into a paper coffee filter supported by the metal strainer. Squeeze the mixture to remove excess liquid. Place it on the aluminum foil and spread it out to a uniform thickness. Characterize the workability of the plastic and note that on the data sheet. Let dry for 48 hours. Measure the hardness and strength of the plastic and note this on the data sheet.
Microwave Corn Plastic
Equipment
- 1 bowl (6” bowl $1.57, Target)
- 1 microwave ($64.99, Target) – Used jointly with the “Flubber” group.
Student supply list
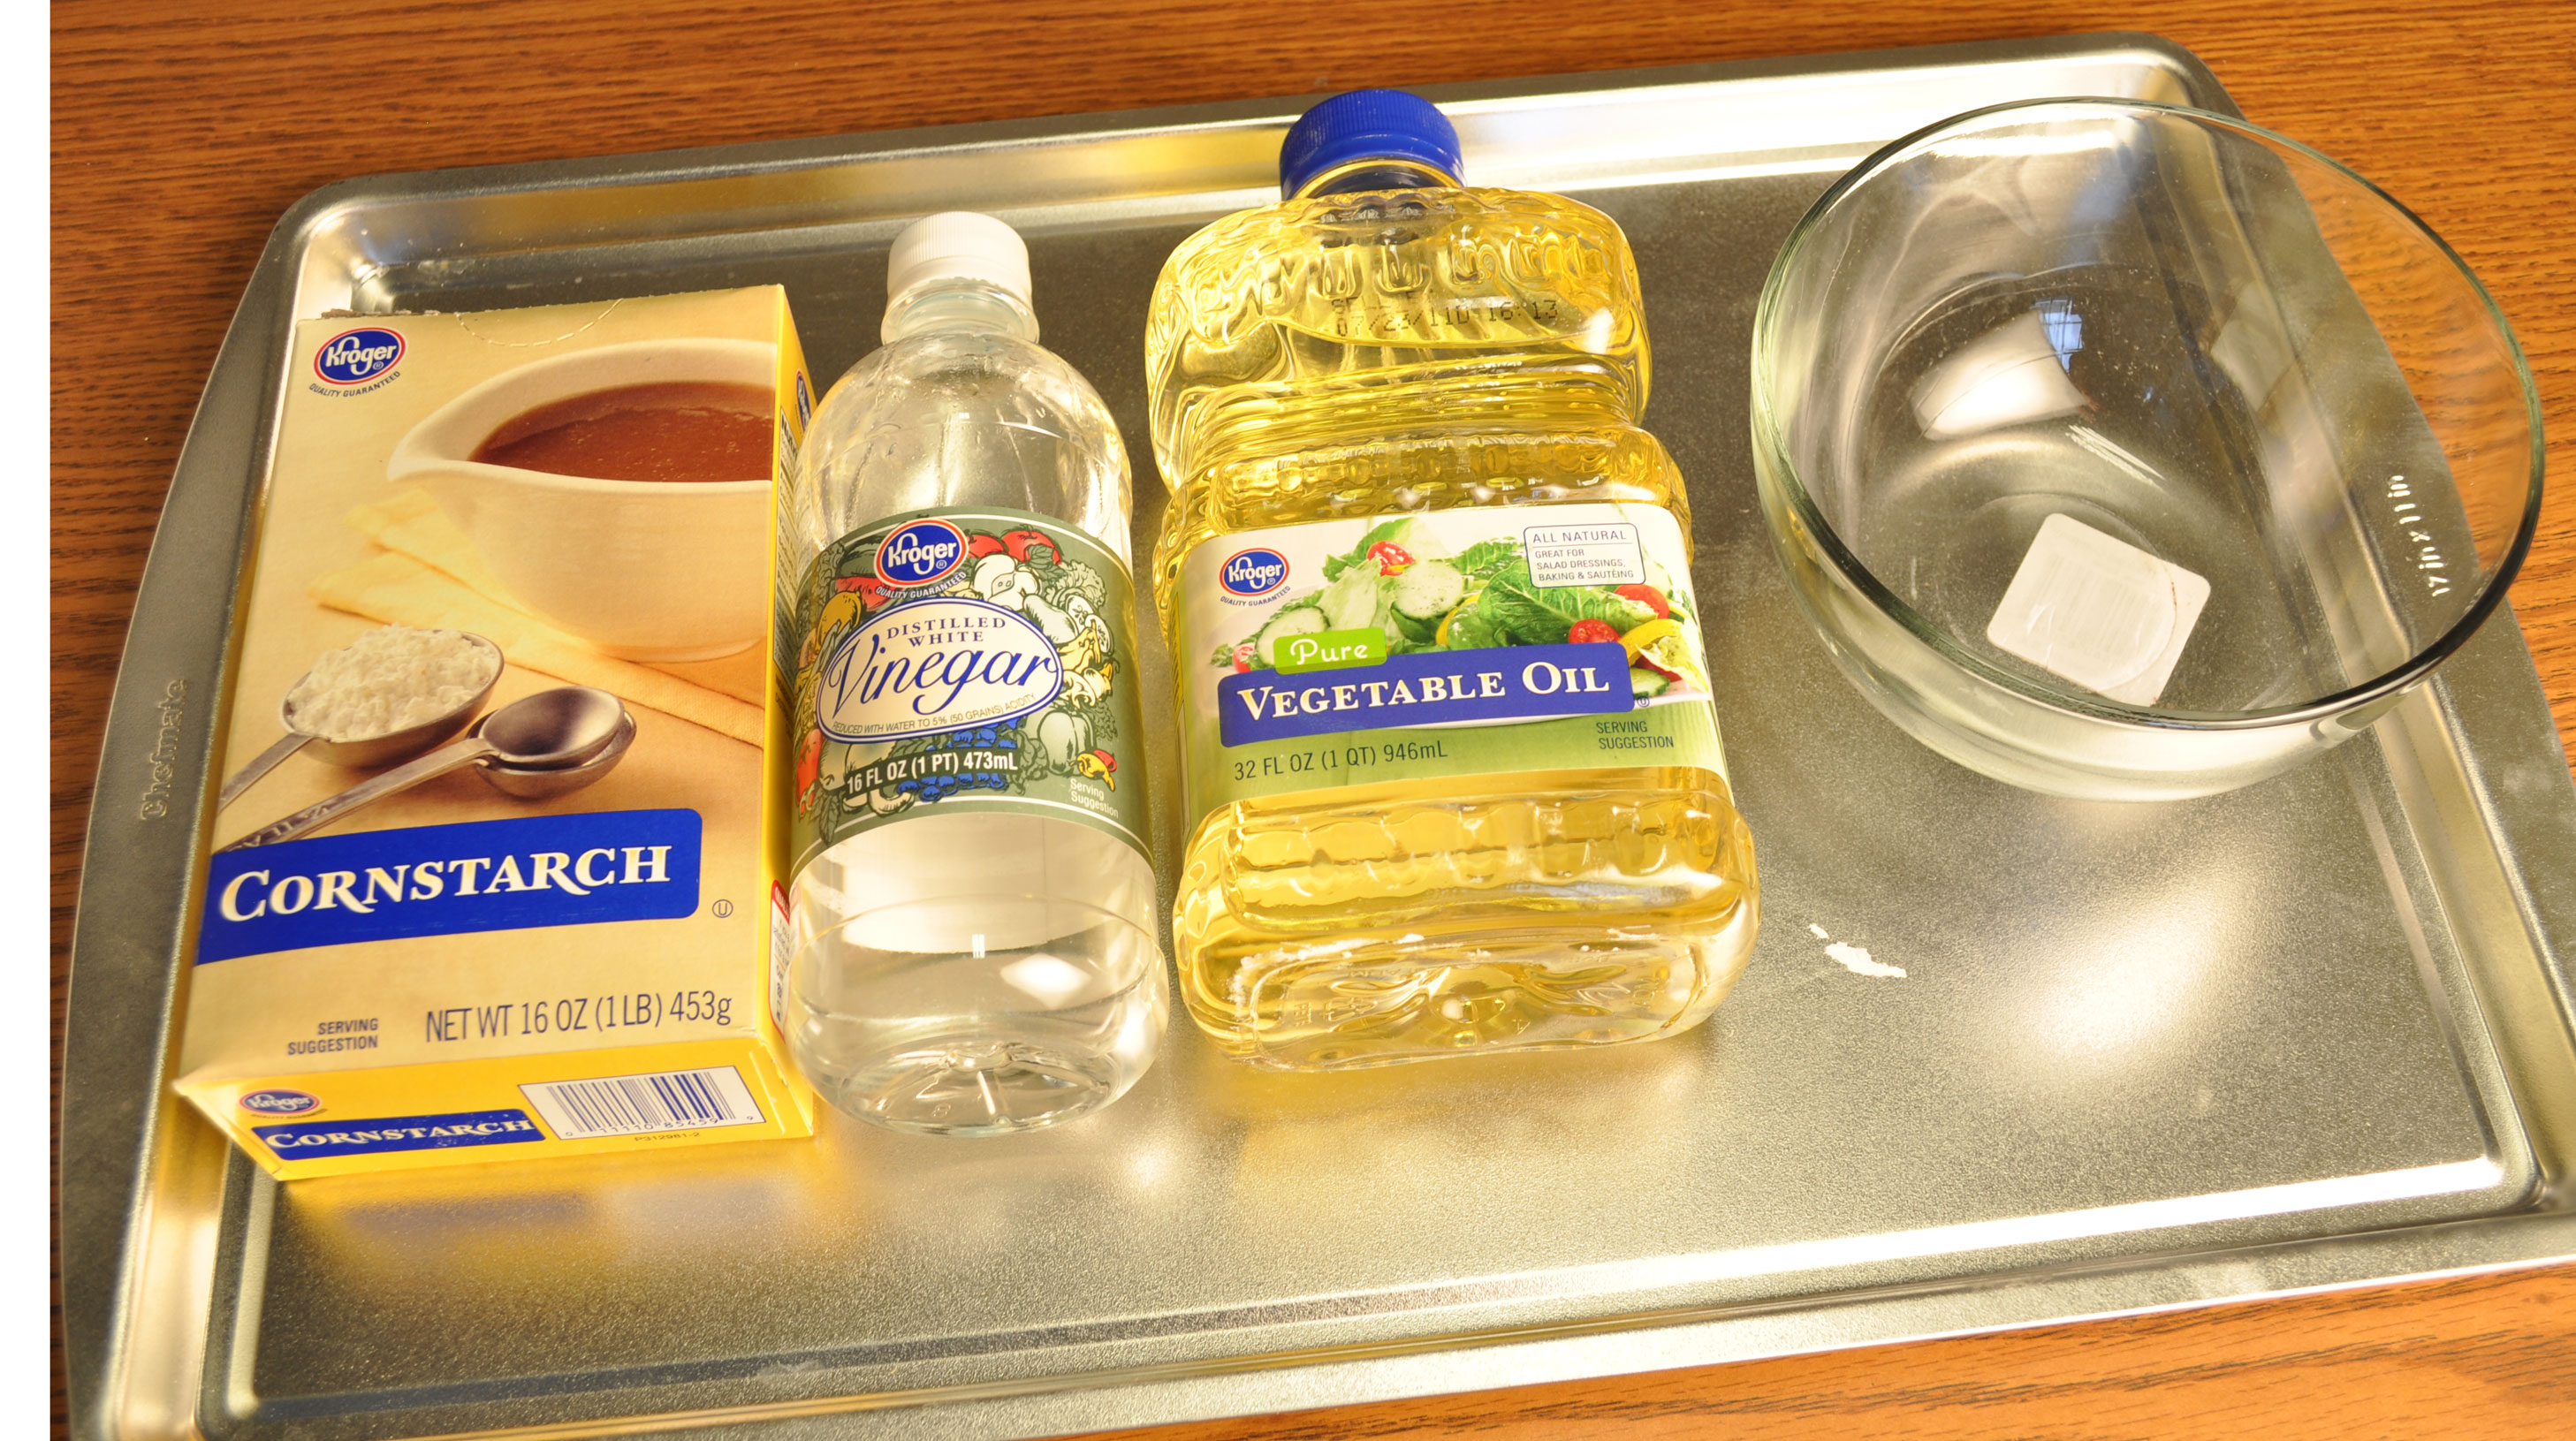
The students purchase the following items and bring them to class on the day of the experiment; cornstarch (enough for 3 cps), oil (enough for 2 cps), water (enough for 10 cps), vinegar (enough for 2 cps), and food coloring (optional).
Standard Recipie
The standard recipe for Milk plastic is; 1/2 liter of skim milk heated to 160OF and 2 Tbs vinegar.The standard recipe for Microwave corn plastic is; 1 Tbs cornstarch, 1/2 tsp oil, 4 Tbs water, and 1 tsp vinegar.
Ingredient Levels
The ingredient levels for Microwave corn plastic are; cornstarch (Low = 1 Tbs, High = 1 1/2 Tbs), oil (Low = 1/4 tsp, High = 1/2 tsp), water (Low = 4 Tbs, High = 5 Tbs), and vinegar (Low = 1/2 tsp, High = 1 tsp).
Procedure
Mix the appropriate amounts of cornstarch, oil, water, vinegar and food coloring in a microwave safe bowl and stir until uniform. Place the bowl in the microwave and heat until the mixture turns gel like. Spread out the mixture on the aluminum foil to a uniform thickness. Characterize the workability of the plastic and note that on the data sheet. Let dry for 48 hours. Measure the hardness and strength of the plastic and note this on the data sheet.
Stovetop Corn Plastic
Equipment
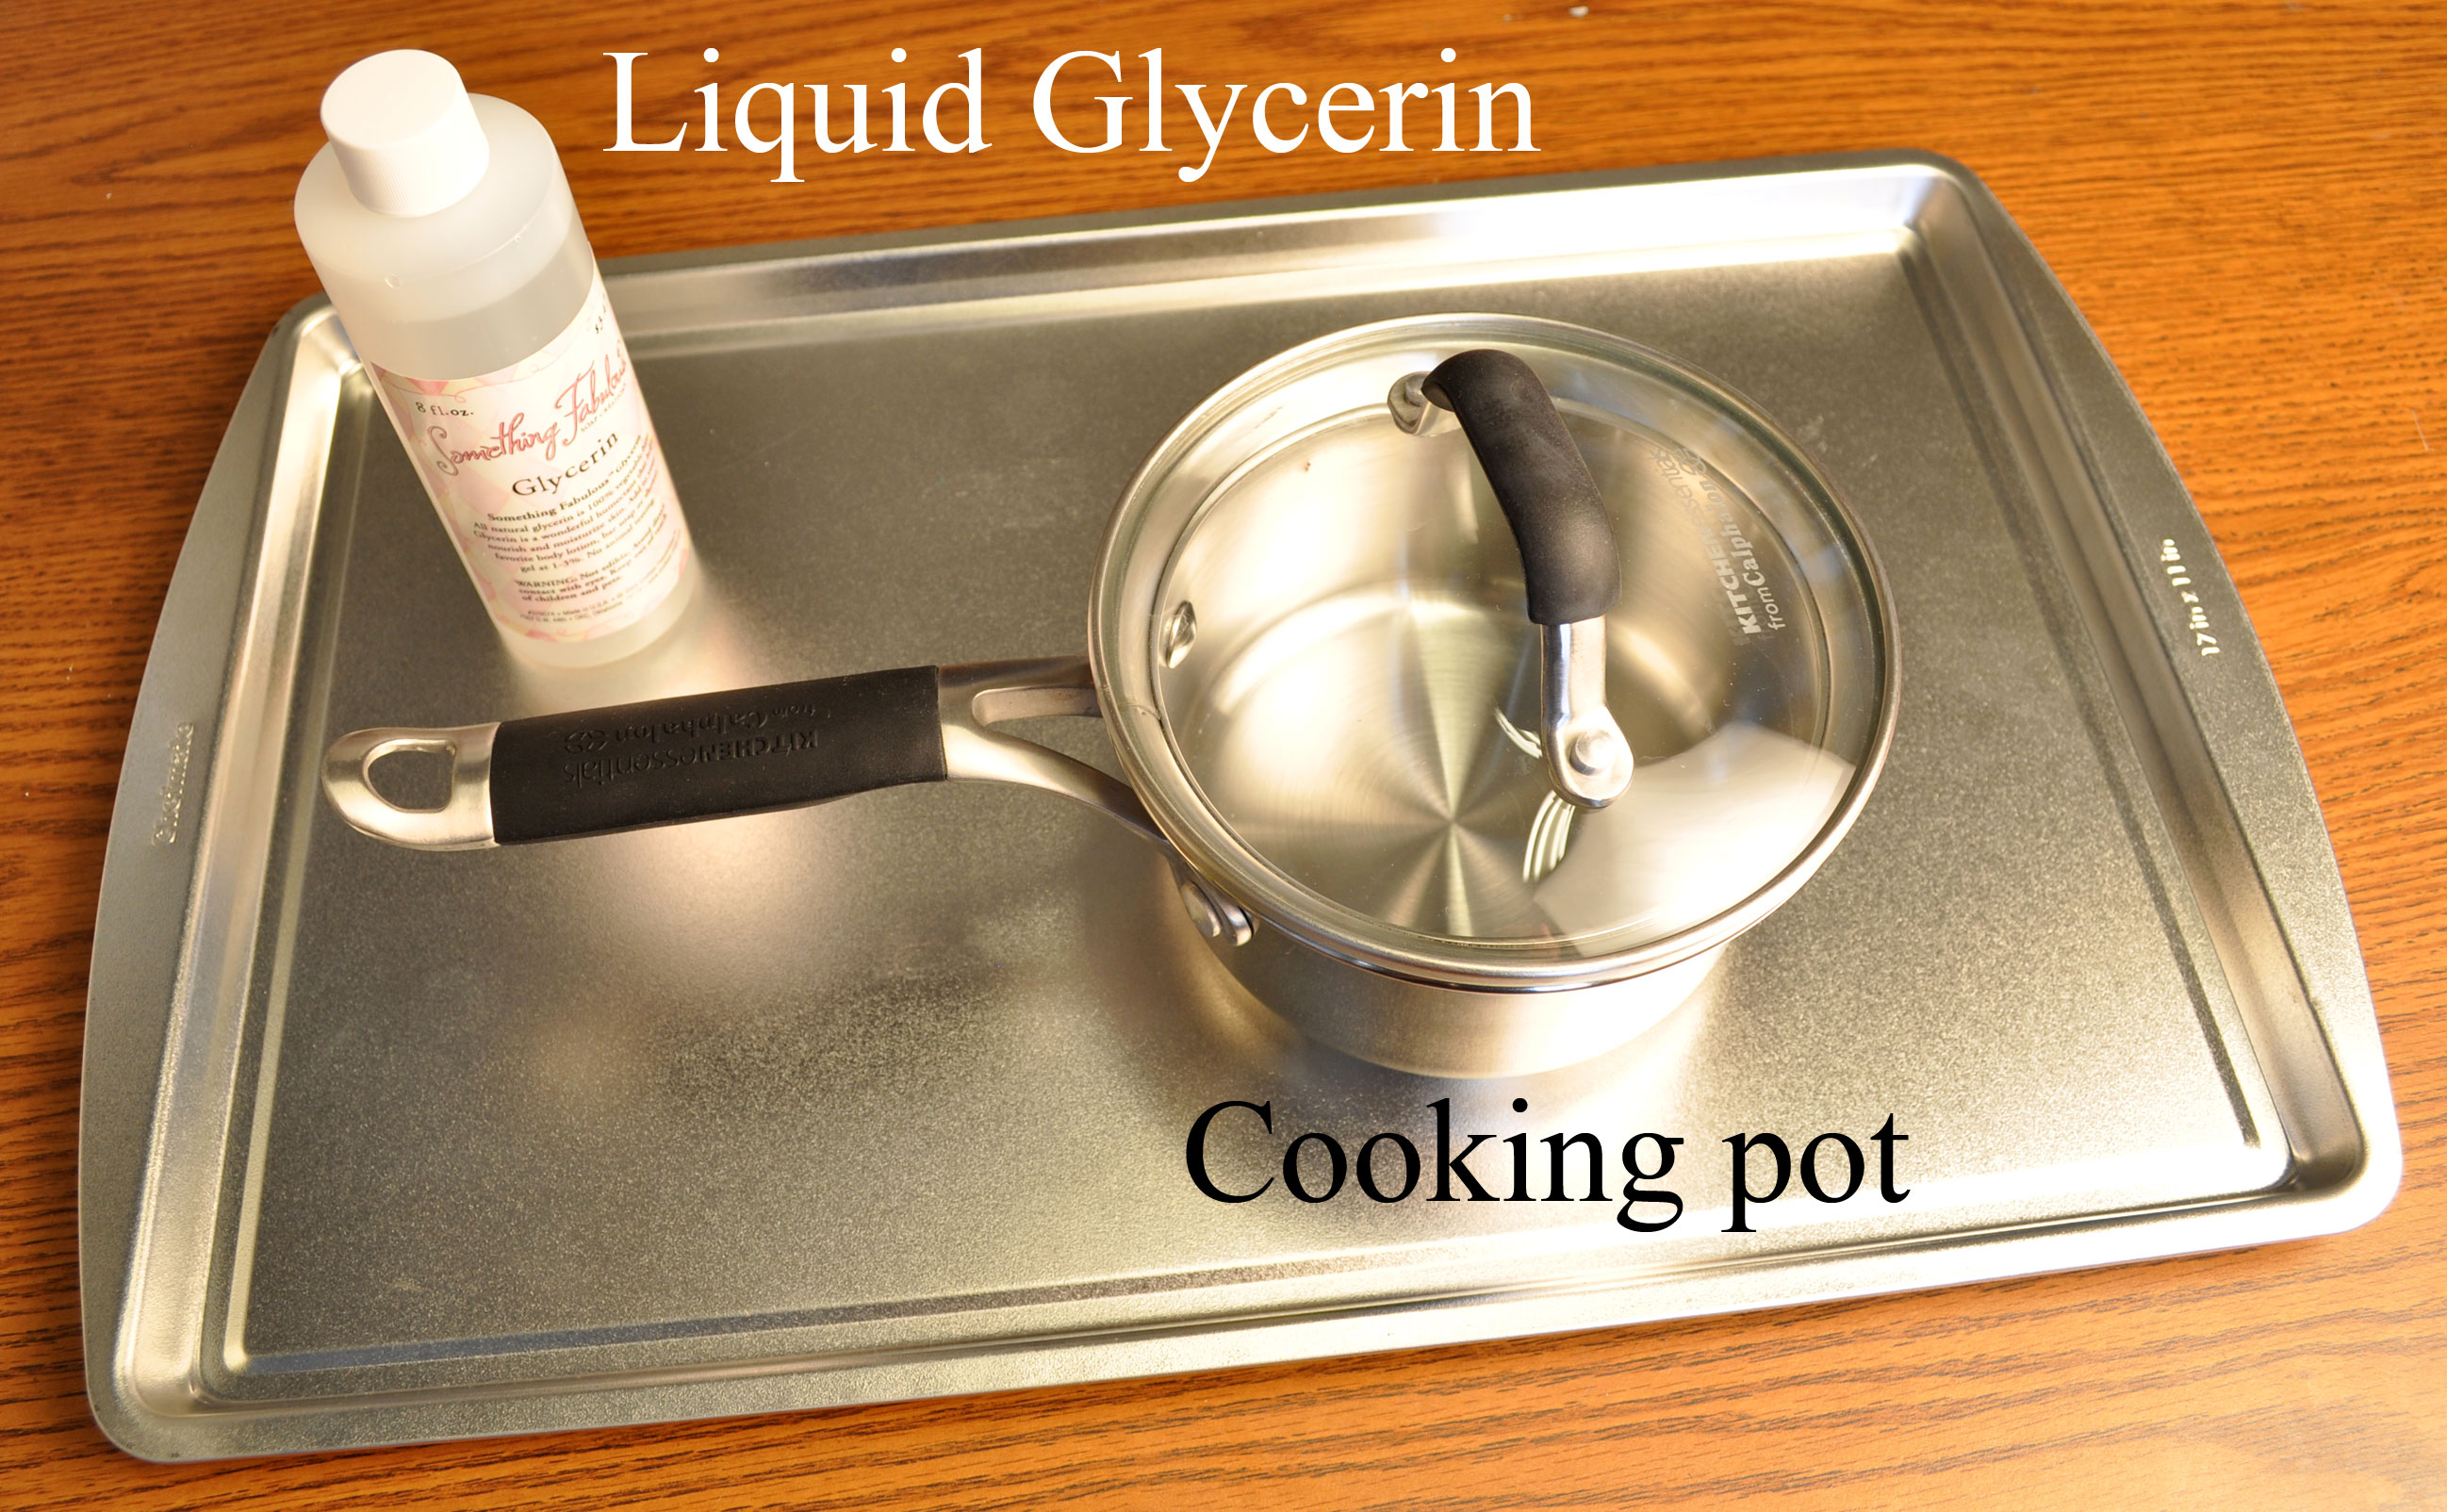
- cooking pot ($29.99, Target)
- 1 2-burner hotplate ($34.99, Target) - Used jointly with the “Milk Plastic” group.
- liquid glycerin (8 oz for $3.47, Hobby Lobby www.hobbylobby.com )
Student supply list
The students purchase the following items and bring them to class on the day of the experiment; corn, potato or tapioca starch (enough for 3 cps), vinegar (enough for 12 tsp), water (enough for 10 cps), and food coloring (optional).
Standard Recipie
The standard recipe for Stovetop corn plastic is; 1 Tbs cornstarch, 1 tsp vinegar, 4 Tbs water, and 1 tsp liquid glycerin.
Ingredient Levels
The ingredient levels for Microwave corn plastic are; cornstarch (Low = 1 Tbs, High = 1 1/2 Tbs), oil (Low = 1/4 tsp, High = 1/2 tsp), water (Low = 4 Tbs, High = 5 Tbs), and vinegar (Low = 1/2 tsp, High = 1 tsp).The ingredient levels for Stovetop corn plastic are; cornstarch (1 Tbs, 1 1/2 Tbs), vinegar (1 tsp, 1 1/2 tsp), water (4 Tbs, 5 Tbs), and liquid glycerin (1 tsp., 2 tsp.).
Procedure
Add the cornstarch, vinegar, water, glycerin and food coloring in a cooking pot and mix the ingredients until uniform. Heat the mixture and stir continuously. Turn off the heat when the mixture becomes translucent and gel like. When it is clear and like a gel it is done. Spread out the mixture on the aluminum foil to a uniform thickness. Characterize the workability of the plastic and note that on the data sheet. Let dry for 48 hours. Measure the hardness and strength of the plastic and note this on the data sheet.